Navigating the new Windows Terminal capabilities and code
| CommentsI don’t like C++. There I said it…got it out of the way. It’s not a fair statement, as I know many people who do and think I’m crazy for not only writing code in C++. As someone who didn’t come from a traditional computer science background, I just never ‘grew up’ on C or C++ as fundamentals.
NOTE: You can hear more about my journey (and others) to tech on the awesome CodeNewbie podcast. Here’s my episode right here: From police recruit to developer.
Go ahead, insert ‘you’re not a real programmer’ comments below. I’ve established enough thick skin over the years to hear that feedback. Anyhow, I digress. While I’m not a fan of C++ it really isn’t about the language but the iteration dev loop. I’ve often found it slower than what I’d like and the mix/match of toolsets, settings, etc. has left a lot to be desired to me. HOWEVER, all this said, looking at C++ code is an excellent way to learn and to actually appreciate more the language and code that others write. No better source of learning development exists than code.
Last week at the Microsoft Build conference a fun new project was unleashed to the developer community…a new Windows Terminal. AND it is Open Source!
I’ve never seen as much excitement about a terminal app in this ecosystem as I have the past 10 days. So much fun. First, here’s the team that brings you the Windows Terminal project:
Dear #Build2019 physical and virtual attendees & tweeps - thank you for attending our talks, visiting our booth, and asking/posting tons of great questions & comments. We appreciate you all.
— Rich Tur-minal-ner-d (@richturn_ms) May 8, 2019
With love from the #WSL and #Terminal teams
Until next year pic.twitter.com/VayHovDnNJ
Great people, passionate about making Windows a great development environment for no matter what you are developing. This is also the team bringing you WSL and the new capabilities there! So you want to try out the terminal…your first question is Where can I get it?
Building Windows Terminal
Well, for now it is source only. This will likely change over the course of the next few months, but for now if you really want to try it out, you need to build it yourself. The repository on GitHub has all the bits and instructions for you to do so. I jumped on this right away like others but ran into a few bumps because I was using Visual Studio 2019. Luckily this has been solved by this PR to help make the scavenger hunt for dependencies less painful.
SIDE NOTE: If you have an open source or team-based project, do yourself a favor and add a .vsconfig file now. Details: Configure Visual Studio across your organization with .vsconfig
Basically the steps are:
- put your machine in developer mode
- ensure you have some Git tools
- ensure you have the C++ tools (compilers, etc.) (Visual Studio Community Edition is free to download/install and works)
- clone the repository
- update the submodules
- build the repo (using VS or the tools\bcz script)
If you use Visual Studio 2019 (recommended by me) opening the OpenConsole.sln file should prompt you with a screen that will give you a note to ‘install’ the missing dependencies in the Solution Explorer:

If you click Install it will run you through the missing components you may not have enabled for completing the build. Finish that process. Once done, you will have all the bits and can go back to the OpenConsole.sln project and choose ‘Build Solution’ and start the process. Lots of stuff building for the first time so it will take a bit. Now what?
Deploying/Running Windows Terminal
Building is step 1, now you want to run it. Windows Terminal is a Universal Windows Platform (UWP) application and must be deployed first. The easiest way for doing this is from Visual Studio, but you may want to know what project!? The Terminal\CascadiaPackage project is the one you want and just right-click on that and choose Deploy. This will deploy it to your machine (assuming you enabled developer mode). And this will now be in your start menu:
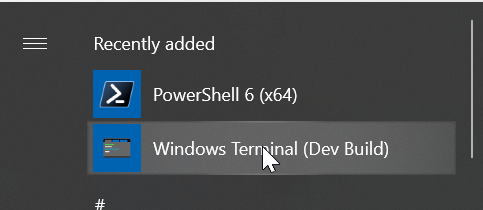
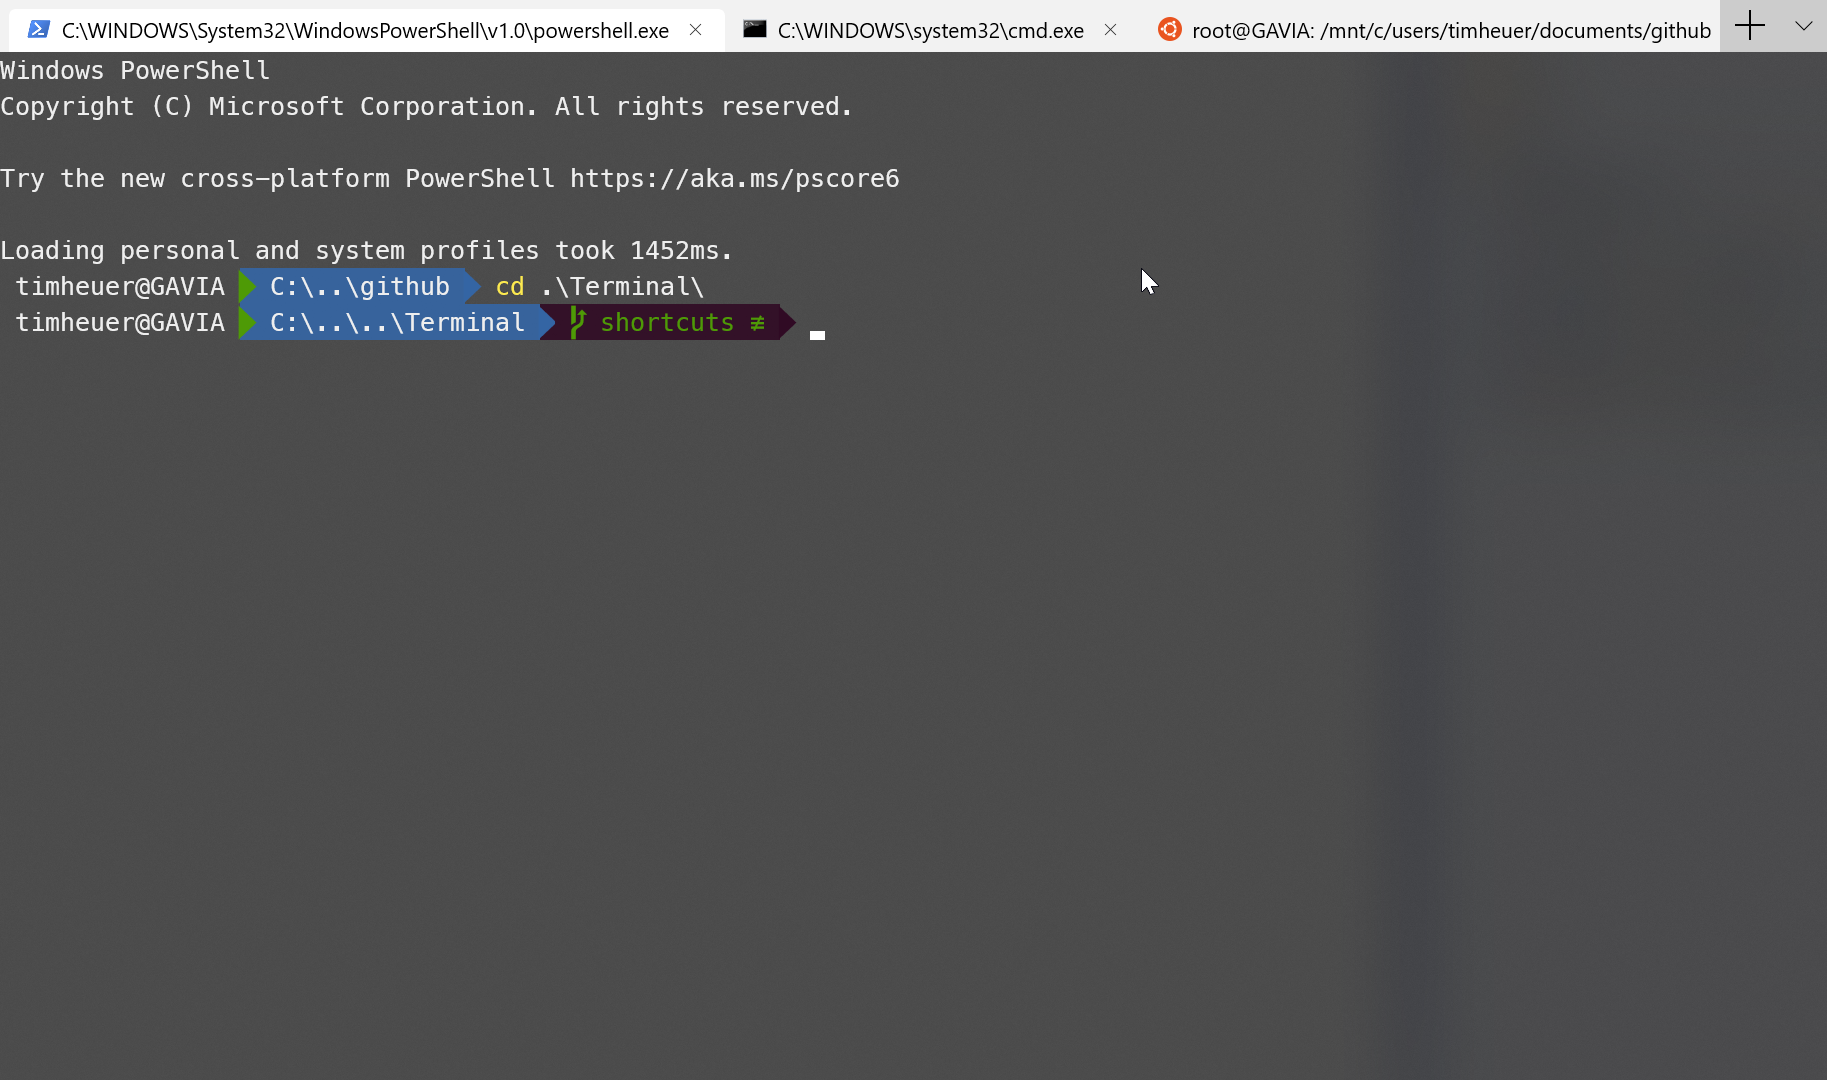
Click/tap/whatever on that and you will launch Terminal for the first time!
Wait, where are the tabs I saw?
Ah, now that you have it running, let’s take a tour. The settings right now are a JSON file that you can access via the settings menu. How do you get the settings menu? Hit CTRL + T to bring up the tab view and then you should have a drop-down menu in the upper right area:

If you click Settings it will open up the profile.json file in the default editor on your machine configured for editing JSON files. For me this was Visual Studio, but you can use Code or other editor as well. This is editing your own profile for your terminal environment. By default this JSON is void of white-space so you may want to format it to make it more readable. In Visual Studio that is CTRL + K, CTRL + D and it will prettify it for you. You’ll then see some initial settings in the top of the file:
{
  "defaultProfile": "{a933a071-2a32-42c9-b03a-550845793252}",
  "initialRows": 30,
  "initialCols": 120,
  "alwaysShowTabs": true,
  "showTerminalTitleInTitlebar": true,
  "experimental_showTabsInTitlebar": false,
If you change line 5 here like I did to true then you will always start with tabs even if only one console host is running. When you save the profile.json file it will re-format to no whitespace FYI (there is a watcher on the file in the code) but the settings will become immediate.
Navigating the profile.json options
The profile file main meat is in the profiles themselves. These drive what shells/consoles you can launch and their configuration. For example here is a snippet of what mine looks like right now a bit:
{
  "defaultProfile": "{a933a071-2a32-42c9-b03a-550845793252}",
  "initialRows": 30,
  "initialCols": 120,
  "alwaysShowTabs": true,
  "showTerminalTitleInTitlebar": true,
  "experimental_showTabsInTitlebar": false,
  "profiles": [
    {
      "startingDirectory": "c:\\users\\timheuer\\documents\\github",
      "guid": "{b056b6a8-89ba-4868-86c6-2ea078cd4fdd}",
      "name": "cmd",
      "colorscheme": "UbuntuLegit",
      "historySize": 9001,
      "snapOnInput": true,
      "cursorColor": "#FFFFFF",
      "cursorHeight": 25,
      "cursorShape": "vintage",
      "commandline": "cmd.exe",
      "fontFace": "Cascadia Code",
      "fontSize": 12,
      "acrylicOpacity": 0.75,
      "useAcrylic": true,
      "closeOnExit": true,
      "padding": "0, 0, 0, 0",
      "icon": "ms-appdata:///roaming/cmd-icon.png"
    },
    {
      "startingDirectory": "c:\\users\\timheuer\\documents\\github",
      "guid": "{a933a071-2a32-42c9-b03a-550845793252}",
      "name": "PowerShell",
      "background": "#0C0C0C",
      "colorscheme": "UbuntuLegit",
      "historySize": 9001,
      "snapOnInput": true,
      "cursorColor": "#FFFFFF",
      "cursorHeight": 25,
      "cursorShape": "vintage",
      "commandline": "powershell.exe",
      "fontFace": "Meslo LG M for Powerline",
      "fontSize": 12,
      "acrylicOpacity": 0.75,
      "useAcrylic": true,
      "closeOnExit": true,
      "padding": "0, 0, 0, 0",
      "icon": "ms-appdata:///roaming/powershell_64.png"
    },
While I don’t have all options enabled a little spelunking the source code helps you know what other options exist:
- name: the name of the particular profile. Right now this is what shows in the drop-down menu shown previously. There is an issue logged to perhaps make this the name of the tab as well.
- guid: the unique identifier of this profile. Incidentally if you didn’t know and wanted to create your own profiles and need a GUID, VIsual Studio has a “Create GUID” tool available from the tools menu…choose registry format and then copy/paste
- colorscheme: this maps to the color scheme for this area…which is an array of colors that maps to the various foreground/background/text/highlight/etc. settings that are also configurable. You can see in your profile file that Campbell and a few others (Solarized Dark/Light) are pre-configured. You can use iterm2colors values to create a new scheme.
- foreground: the foreground, duh (overwriting colortable/scheme)
- background: the background, duh (overwriting colortable/scheme)
- colortable: an in-line version of the color array that would be within a scheme
- historySize: I honestly haven’t looked at this one yet in the code to know
- snapOnInput: I honestly haven’t looked at this one either
- cursorColor: color of the cursor style you chose
- cursorShape: different options to show the cursor: vintage (thick underscore), bar (vertial bar), underscore (thin underscore), filledBox, emptyBox
- cursorHeight: height for the cursor
- commandline: the command to run for the profile (full path or something that will be found in PATH)
- fontFace: the fond to use for this profile. You may see in mine that I am using ‘Meslo LG M for Powerline’ to get the cool customizations of the prompt. Find more on how to do that here and it works in Windows Terminal
- Note: the team will also be open sourcing a new font that will be used for the terminal, but is not yet available as of this post
- fontSize: size of the font
- acrylicOpacity: the opacity of the window if you choose to use the acrylic (transparency) feature. value from 0-1
- useAcrylic: true/false if you want to use the transparency
- scrollbarState: hidden/visible are the options
- closeOnExit: true/false if you want the tab to close when you initiate the exit command for your host
- padding: this affects some of the output but honestly not working well right now, recommend leaving at 0,0,0,0
- startingDirectory: the startup directory for this profile. I have mine configured with my github directory where all my code is instead of $home (which is default)
- icon: an icon that will show in the menu and the tab. These live in your RoamingState directory (C:\Users\<yourusername>AppData\Local\Packages\WindowsTerminalDev_8wekyb3d8bbwe\RoamingState) and the format for the value is “ms-appdata:///roaming/<yourfilename>”
For now these are the available options that you should fitz around with to customize what you need to change. I’ve messed around with these enough and got to where I want them to be for me right now.
Navigating the source and contributing
As I started this post about how I didn’t like C++, it is a good place to learn a lot. The Windows Terminal source is a maze of someone else’s code and right now without a clear map. So the best way is to really just dig in and follow a particular flow. I find this is the best way to navigate any project source code: find one feature and try to find and follow it in the code. For me, I was messing with the settings file so much and I hated using the menu with my mouse I wanted a keyboard shortcut. I knew that CTRL + T launched a new tab, so hey I could implement a keyboard shortcut to launch the settings file quickly. I first logged that feature as an issue on the project: Add keybinding for access to Settings and then went to work. I knew that the new tab shortcut existed so I took my own advice: follow the code! After a few tries and navigating all the headers and various code files I submitted a PR to the project for my own issue: PR#684. There were 6 files changed to add this key binding and if you look at the change I proposed, there was already a function I could call (same one the menu uses) and I really just needed to map the key binding and have it call the existing function. Simple, but I learned a bit of how the current code is structured in the repository.
So my recommendation would be to find something that you are seeing as a piece of existing functionality or something you want to add yourself and start looking at searching for where you think it might be. You’ll quickly find out some of the structure around TerminalSettings, TerminalCore, TerminalControl, etc. and play around with making some changes. Keep in mind this is active development and things will change around quite frequently. The team even indicates much:
⚠ Note: The Command-Line Team is actively working out of this repository and will be periodically re-structuring the code to make it easier to comprehend, navigate, build, test, and contribute to, so DO expect significant changes to code layout on a regular basis.
I have already been bitten a bit by a merge, but no big deal just fix up a few things and move along again!
What’s Next?
The team has a good aspiration of what they want to accomplish and just getting started. Quality will improve, bugs will get fixed, consumption of the terminal will be better, etc. Read the README file in the repository and engage with the team on Twitter (their contact info in the README).
Hope this helps!
Please enjoy some of these other recent posts...
Comments