Using GitHub Actions for .NET Framework apps
I’ve continuing been doing research on GitHub Actions for .NET developers and came across a comment that someone said (paraphrasing): I wish I could use it for .NET Framework apps but it is just .NET Core.
NOT TRUE! And I want to help fix that perception. There are some bumps in the road, but allow me to explain some simple (yes I realize they are simple) steps to get it working.
NOTE: I’ve been on this research because I’m looking to better get ‘publish’ experiences in Visual Studio for your apps, but I want to help you get into best practices for CI/CD and DevOps practices. Basically I’m on a mission for right-click, publish to CI to improve for you :-)
So in this post I’ll walk through an ASP.NET Framework (MVC) app and have it build/publish artifacts using GitHub Actions. Let’s get started…
The simple app
I am starting from File…New Project and selecting the ASP.NET Web Application (.NET Framework):

So it’s basic vanilla and I’m not changing anything. The content of the app is not important for this post, just that we have a full .NET Framework (I chose v4.8) app to use. From here in Visual Studio you can build the app, run, debug, etc. Everything you need here is in Visual Studio of course. If you wanted to use a terminal to build this app, you’d be likely (recommended) using MSBuild to build this and not the dotnet CLI. The command might look something like this:
code
I’m specifying to build the solution and use a release profile. We’ll come back to this, now let’s move on.
Publish profile
Now for our example, I want to publish this app using some pre-compiled options. In the end of the publish task I’ll have a folder that I’d be able to deploy to a web server. To make this simple, I’m using the Publish capabilities in Visual Studio to create a publish profile. You get there from right-click Publish (don’t worry, we’re not publishing to production but just creating a folder profile).
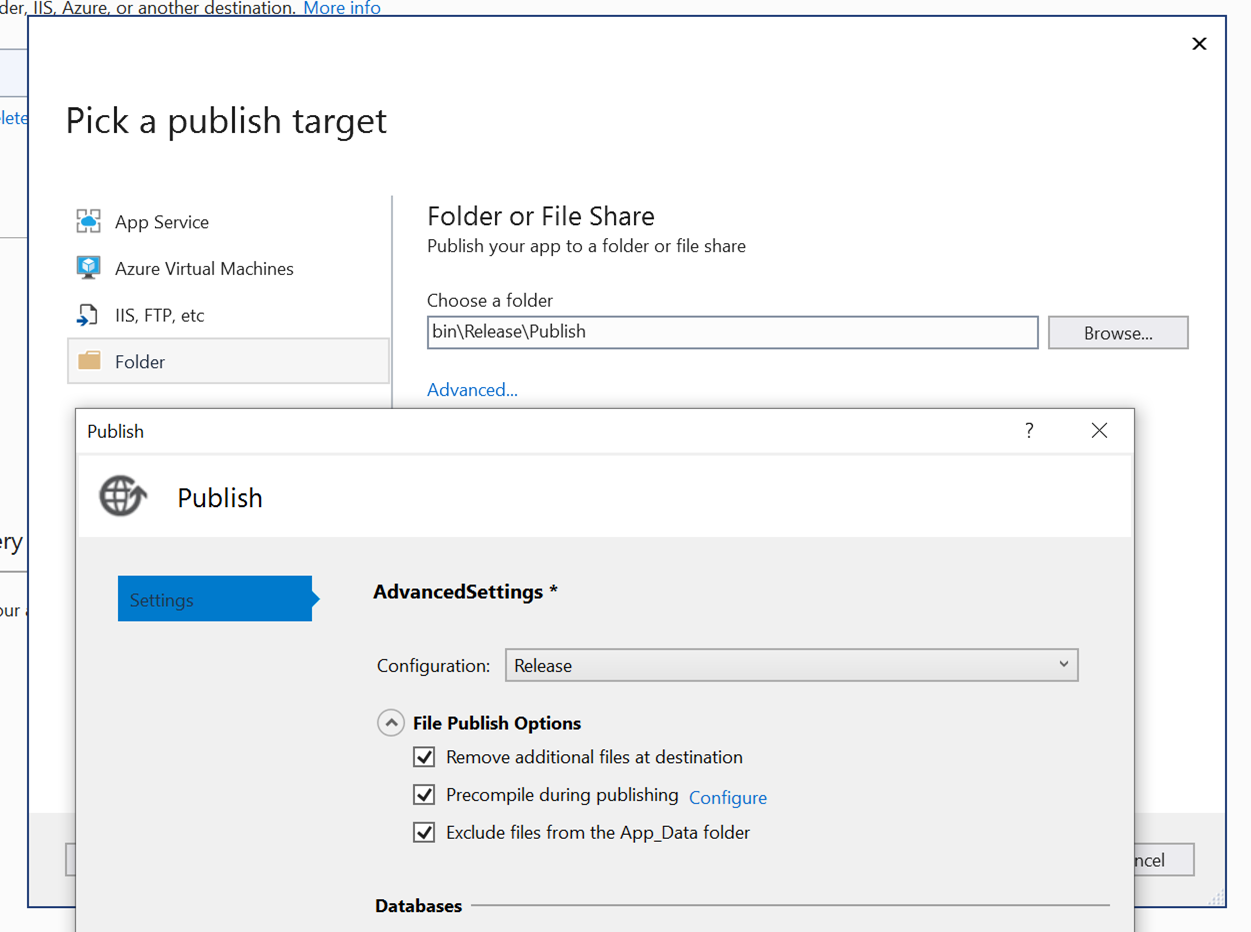
The end result is that it will create a pubxml file in the Properties folder in your solution
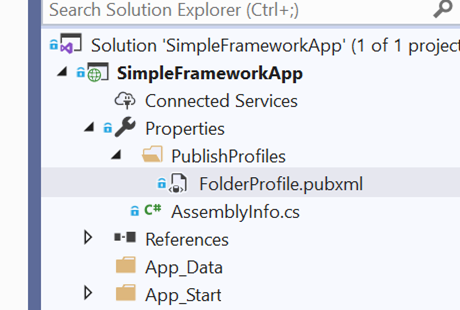
So we have our app and our publish (to a folder) profile. Moving on to the next step!
Publish to the repo and create initial GitHub Actions workflow
From Visual Studio we can add this to GitHub directly. In the lower right of visual Studio you’ll see the ability to ‘Add to Source Control’ and select Git:

which will bring up the UI to create/push a new repository to GitHub directly from Visual Studio:
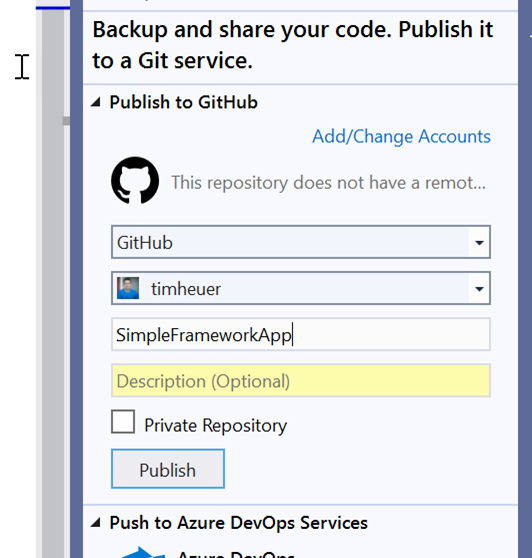
Now we have our project in GitHub and we can go to our repository and create the initial workflow.
NOTE: This is the area if you have comments about please do so below. In the workflow (pun intended) right now you leave Visual Studio and go to GitHub to create a new workflow file then have to pull/sync, etc. You don’t *have* to do this but usually this is the typical workflow to find templates of workflow files for your app. Got feedback on what Visual Studio might do here, share below!
Now that you have the publish profile created and your solution in GitHub you’ll need to manually add the pubxml file to the source control (as by default it is a part of the .gitignore file). So right click that file in solution explorer and add to your source control. Now on your repository in GitHub go to the Actions tab and setup a new workflow:
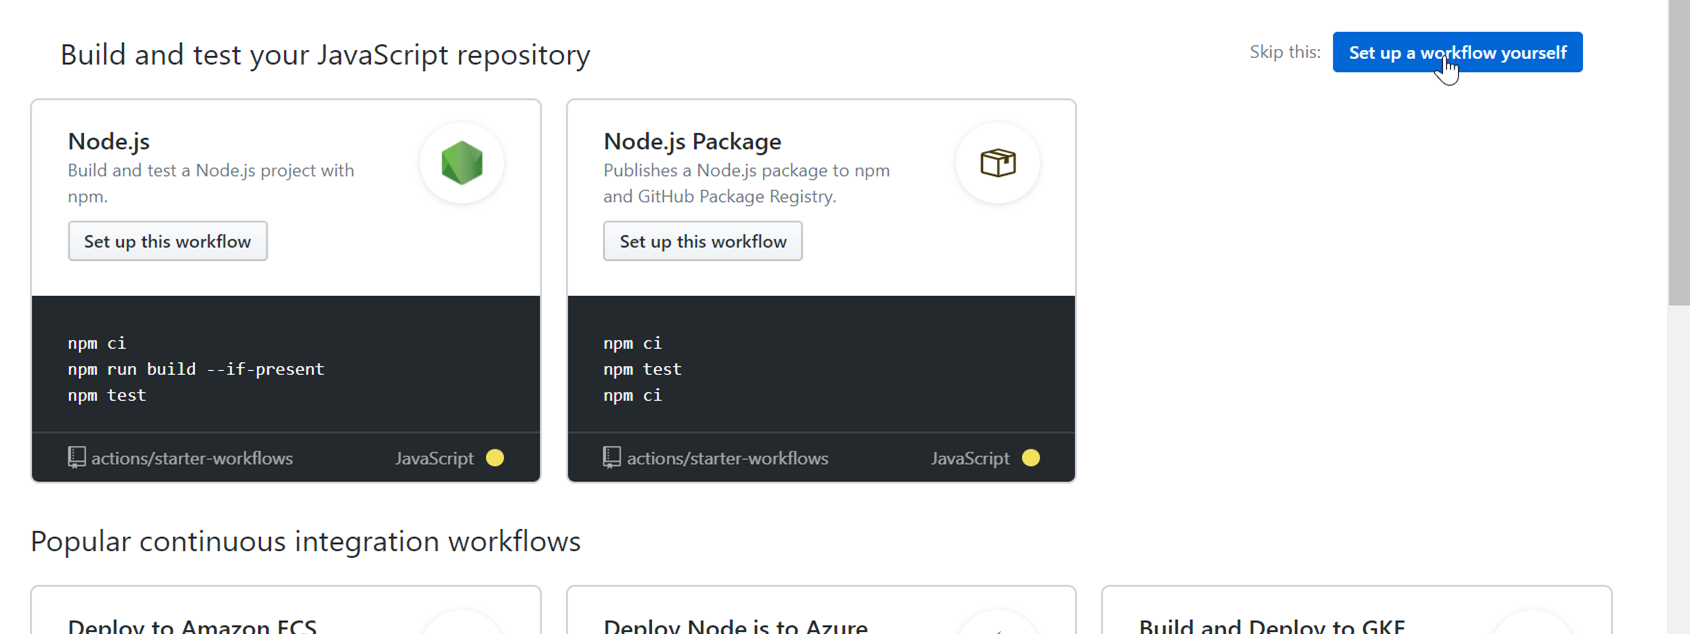
The reason for this (in choosing new) is that you won’t see a template that is detected for .NET Framework. And due to whatever reason GitHub thinks this is a JavaScript repository. Anyhow, we’re effectively starting with blank. Create the workflow and you’ll get a very blank default:
name: CI

on: [push]

jobs:
  build:

    runs-on: ubuntu-latest

    steps:
    - uses: actions/checkout@v1
    - name: Run a one-line script
      run: echo Hello, world!
    - name: Run a multi-line script
      run: |
        echo Add other actions to build,
        echo test, and deploy your project.
And it will not be helpful, so we’ll be wiping it out. I’ve named my workflow build.yml as I’m only focusing on build right now.
Defining the .NET Framework build steps
For this post I’m going to put all the steps here rather than build-up and explain each one so you can see the entirety. Here’s the final script for me:
name: Build Web App

on: [push]

jobs:
  build:

    runs-on: windows-latest

    steps:
    - uses: actions/checkout@v1
      name: Checkout Code

    - name: Setup MSBuild Path
      uses: warrenbuckley/Setup-MSBuild@v1

    - name: Setup NuGet
      uses: NuGet/[email protected]

    - name: Restore NuGet Packages
      run: nuget restore SimpleFrameworkApp.sln

    - name: Build and Publish Web App
      run: msbuild SimpleFrameworkApp.sln /p:Configuration=Release /p:DeployOnBuild=true /p:PublishProfile=FolderProfile

    - name: Upload Artifact
      uses: actions/[email protected]
      with:
        name: published_webapp
        path: bin\Release\Publish
Let’s start explaining them.
Ensuring the right runner
In a previous post I described what a ‘runner’ is: What is a GitHub Action Runner? In that post I pointed to the documentation of runners including what is installed on them. Now for .NET Framework apps we need to use Windows because .NET Framework only works on Windows :-). Our action needs to specify using Windows and we are using the windows-latest runner image as we are on Line 8. I won’t spend time talking about self-hosted runners here, but regardless even your self-hosted runner needs to support .NET Framework. As a part of the windows-latest runner image, you can see what is already provided on the image. Currently windows-latest is defined as Windows Server 2019 and the documentation shows what is provided on the hardware resource. This includes already having a version of Visual Studio 2019 installed…which means MSBuild is already there!
Setting up MSBuild
Even though Visual Studio is on the runner, MSBuild is not presently in the default PATH environment (as of the date of this writing)…so you have options. The documentation provides the path to where Visual Studio is installed and you can determine the right location to MSBuild from there and specify the path fully. However, I think there should be easier ways to do this and the community agrees! In the marketplace there is an Action you can use to setup the PATH to have the MSBuild toolset in your path and you can see this being used on Line 14/15. The action here basically does a ‘vswhere’ and sets up the ability to later just call MSBuild directly. This only does MSBuild and not other VS tools that are added to PATH as a part of the ‘Visual Studio Command Prompt’ that most people use. But using this one we have here, we can now build our Framework app with less path ugliness.
Building and publishing the app
With our MSBuild setup in place, we can start building. The first thing we need to do is restore any NuGet packages. In Line 20,21 is where we use the NuGet CLI to restore the solution’s packages that are needed.
NOTE: For some reason using msbuild –t:Restore was not working at the time of this writing that I expected to work…
Once we have the packages restored, we can proceed to build. In Line 24 is our full command to build the solution. We are specifying some parameters:
- Configuration – simple, we are building release bits
- DeployOnBuild – this helps us trigger the publish step
- PublishProfile – this uses the publish profile we specify to execute that step and all the other options we have set in that configuration. We just have to specify the name, not the path
After the completion of this step (we didn’t set any different output folders) we will have a bunch of files in the default publish folder (which would be bin\<config>\Publish).
Publish the artifacts
Once we have the final published bits, we can upload them as the artifact for this build pipeline. As we see starting at Line 26 we are using another action to upload our content (binaries, files) to this completed workflow as an artifact named ‘published_webapp’ and this will be associated with this run and zipped up all these assets you can download or later use these artifacts to publish to your servers, cloud infrastructure, etc.
Summary
So if you thought you couldn’t use GitHub Actions for your .NET Framework now you know you can with some extra steps that may not have been obvious…because they aren’t. In the end you have a final build:
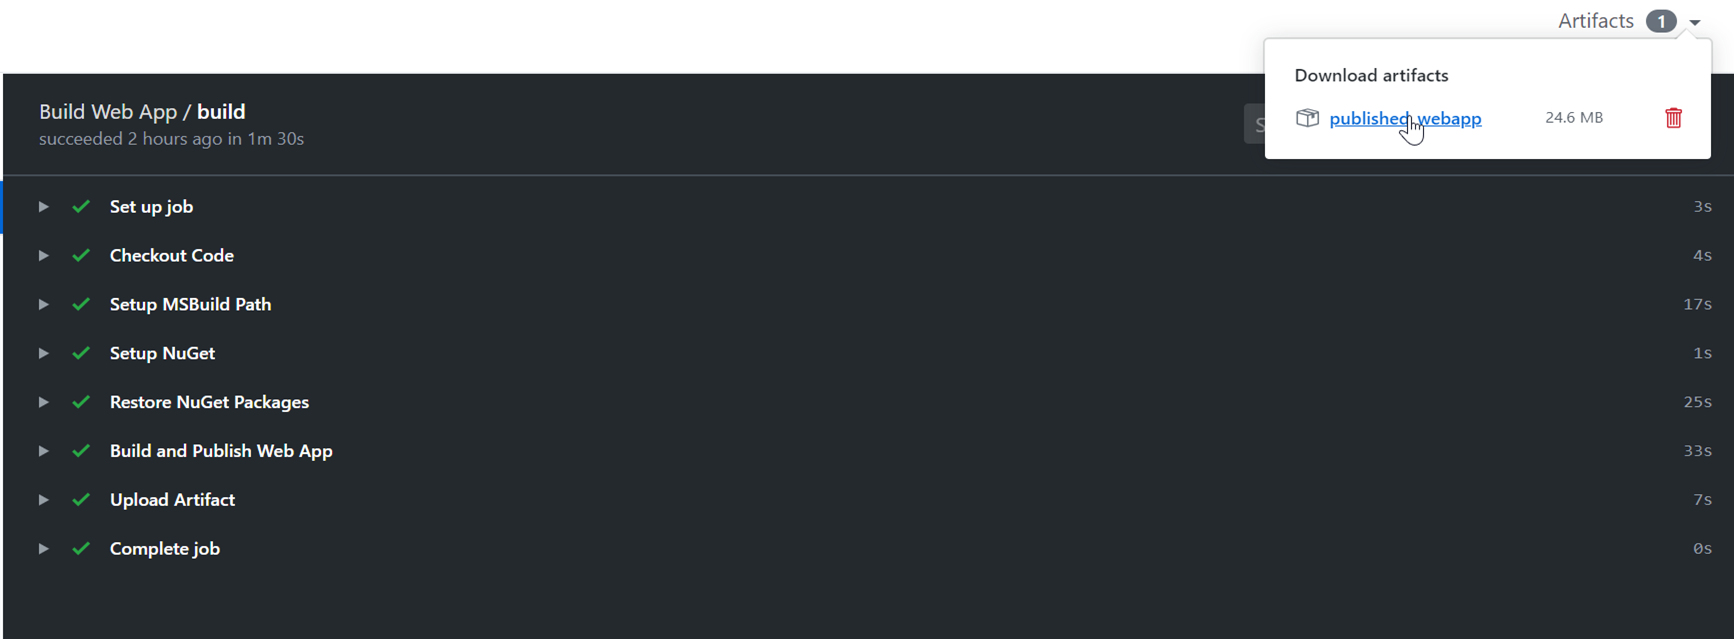
What I’ve shared here I put in a sample repro: timheuer/SimpleFrameworkApp where you can see the workflow (in .github/workflows/build.yml) and the logs. I hope this helps, please share your experiences you’d like to see in Visual Studio to help you better for GitHub Actions.
Please enjoy some of these other recent posts...