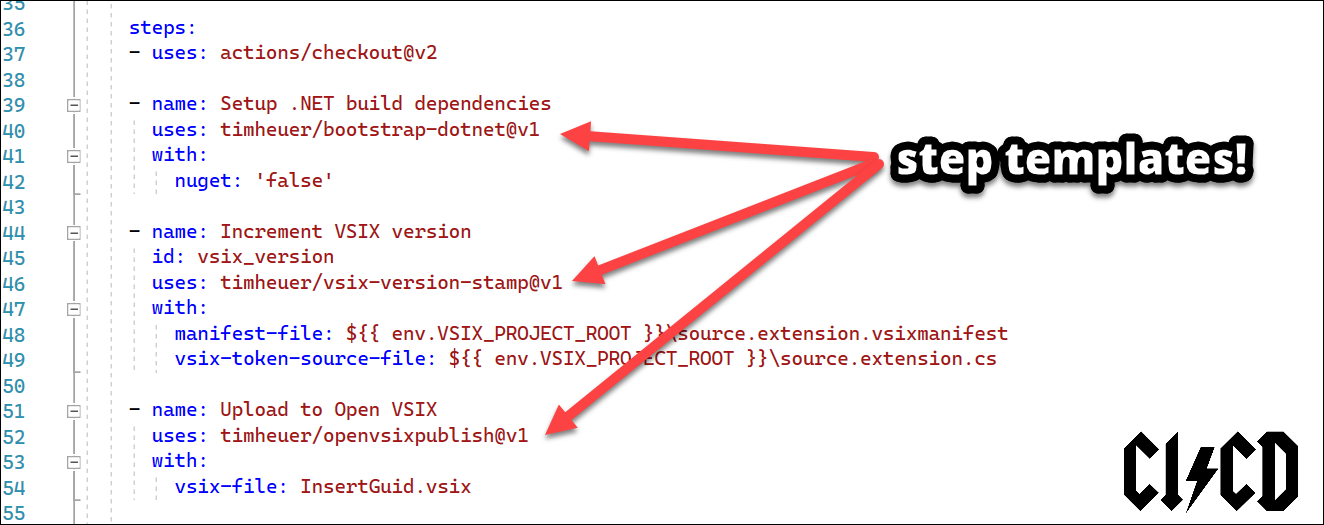
GitHub Composite Actions are fast way to templatize workflows
| CommentsI’ve had a love/hate relationship with CI/CD for a long while ever since I remember it being a thing. In those early days the ‘tools’ were basically everyone’s homegrown scripts, batch files, random daemon hosts, etc. Calling something a workflow was a stretch. It was for that reason I just wasn’t a believer, it was just too ‘hard’ for the average dev. I, like many, would build from my machine and direct deploy or copy over to file shares (NOTE: LOTS of people still do this). Well the tools have gotten WAY better across the board from many different vendors and your options for great tools exist. I’ve been privileged to work with Damian Brady and Abel Wang to educate me on the ways of CI/CD a bit. I know Damian has a mantra about right-click publish, but that only made me want to make it simpler for devs.
NOTE: Did you know that for most projects in .NET working in VS you can use right-click Publish to generate a CI/CD workflow for you, further reducing the complexity?
Well, I’m a believer now and I make it part of my mission to improve the tool experience for .NET devs and also look to convince/advocate for .NET developers to use CI/CD even in the smallest of projects. I’ve honed my own workflows to now I truly just worry about development…releases just take care of themselves. It’s glorious and frees so much time. I go out of my way now when I see friend’s projects who are on GitHub but not using Actions, for example. Recently I was working with Mads Kristensen on some things and asked him if he’d consider using Actions. And in a few minutes I submitted a first PR to one of his projects showing how simple it was. I started from using my own `dotnet new workflow` tool as not all project types support the right-click Publish—>Actions work Visual Studio has done yet. This helps get started with the basics.
In a few back/forth with Mads he wanted to encapsulate more…the files were too busy for him LOL. Enter composite Actions (or technically composite run steps). This was my chance to look into these as I hadn’t really had a need yet. You should read the docs, but my lay explanation is that composite run steps enable you to basically templatize some of your steps into a single encapsulation…and VERY simply.

Let’s look at one example with Mads’ desires. Mads’ projects are usually Visual Studio extensibility projects and require a few things to build more than just the .NET SDK. In this particular instance Mads needed .NET SDK, NuGet, and MSBuild to be setup. No problem, I started out with this, because duh, why not:
  # prior portion of jobs removed for brevity
  steps:
    - name: Setup dotnet
      uses: actions/[email protected]
      with:
        dotnet-version: 6.0.x

    - name: Setup MSBuild
      uses: microsoft/[email protected]

    - name: Setup NuGet
      uses: NuGet/[email protected]
But wanting less text, we discussed and I encapsulated these three in one single step using a new composite action. Creating a composite action is simple and enables you to deploy it in a few ways. First you can just keep these in your own repo itself without having to release anything, etc. This is helpful when yours are very repo-specific and nobody is sharing them across org/repos. Let’s look at the above and how we might encapsulate this. I still want to enable SDK version input to start so need an input parameter for that. So in the repo I’ll create two new folders in the .github/workflows folder, creating a new path called ./github/workflows/composite/bootstrap-dotnet and then place a new action.yaml file in that directory. My action.yaml file looks like this:
# yaml-language-server: $schema=https://json.schemastore.org/github-action.json
name: 'Setup .NET build dependencies'
description: 'Sets up the .NET dependencies of MSBuild, SDK, NuGet'
branding:
  icon: download
  color: purple
inputs:
  dotnet-version:
    description: 'What .NET SDK version to use'
    required: true
    default: 6.0.x
  sdk:
    description: 'Setup .NET SDK'
    required: false
    default: 'true'
  msbuild:
    description: 'Setup MSBuild'
    required: false
    default: 'true'
  nuget:
    description: 'Setup NuGet'
    required: false
    default: 'true'
runs:
  using: "composite"
  steps:
    - name: Setup dotnet
      if: inputs.sdk == 'true'
      uses: actions/[email protected]
      with:
        dotnet-version: ${{ inputs.dotnet-version }}

    - name: Setup MSBuild
      if: inputs.msbuild == 'true' && runner.os == 'Windows'
      uses: microsoft/[email protected]

    - name: Setup NuGet
      if: inputs.nuget == 'true'
      uses: NuGet/[email protected]
Let’s break it down. Composite actions still have the same setup as other custom actions enabling you to have branding/name/description/etc. as well as inputs as I’ve defined starting at line 6. I can then use these inputs in later steps (line 27/30). As you can see this action basically is a template for other steps that use other actions…simple!!! Now in the primary workflow for the project it looks like this:
# yaml-language-server: $schema=https://json.schemastore.org/github-workflow.json
name: "PR Build"

on: [pull_request]

jobs:
  build:
    name: Build
    runs-on: windows-2022

    steps:
    - uses: actions/checkout@v2

    - name: Setup .NET build dependencies
      uses: ./.github/workflows/composite/bootstrap-dotnet
      with:
        nuget: 'false'
Notice the path to the workflow itself using the new folder structure (line 14). Now when this workflow runs it will bring this composite action in and also run it’s steps…beautiful. If the action is more generic and you want to move it out of the repo you can do that. In fact in this one we did just that and you can see it at timheuer/bootstrap-dotnet and be able to use it just like any other action in your setup. An example of changed like the above is as simple as:
# yaml-language-server: $schema=https://json.schemastore.org/github-workflow.json
name: "PR Build"

on: [pull_request]

jobs:
  build:
    name: Build
    runs-on: windows-2022

    steps:
    - uses: actions/checkout@v2

    - name: Setup .NET build dependencies
      uses: timheuer/bootstrap-dotnet@v1
      with:
        nuget: 'false'
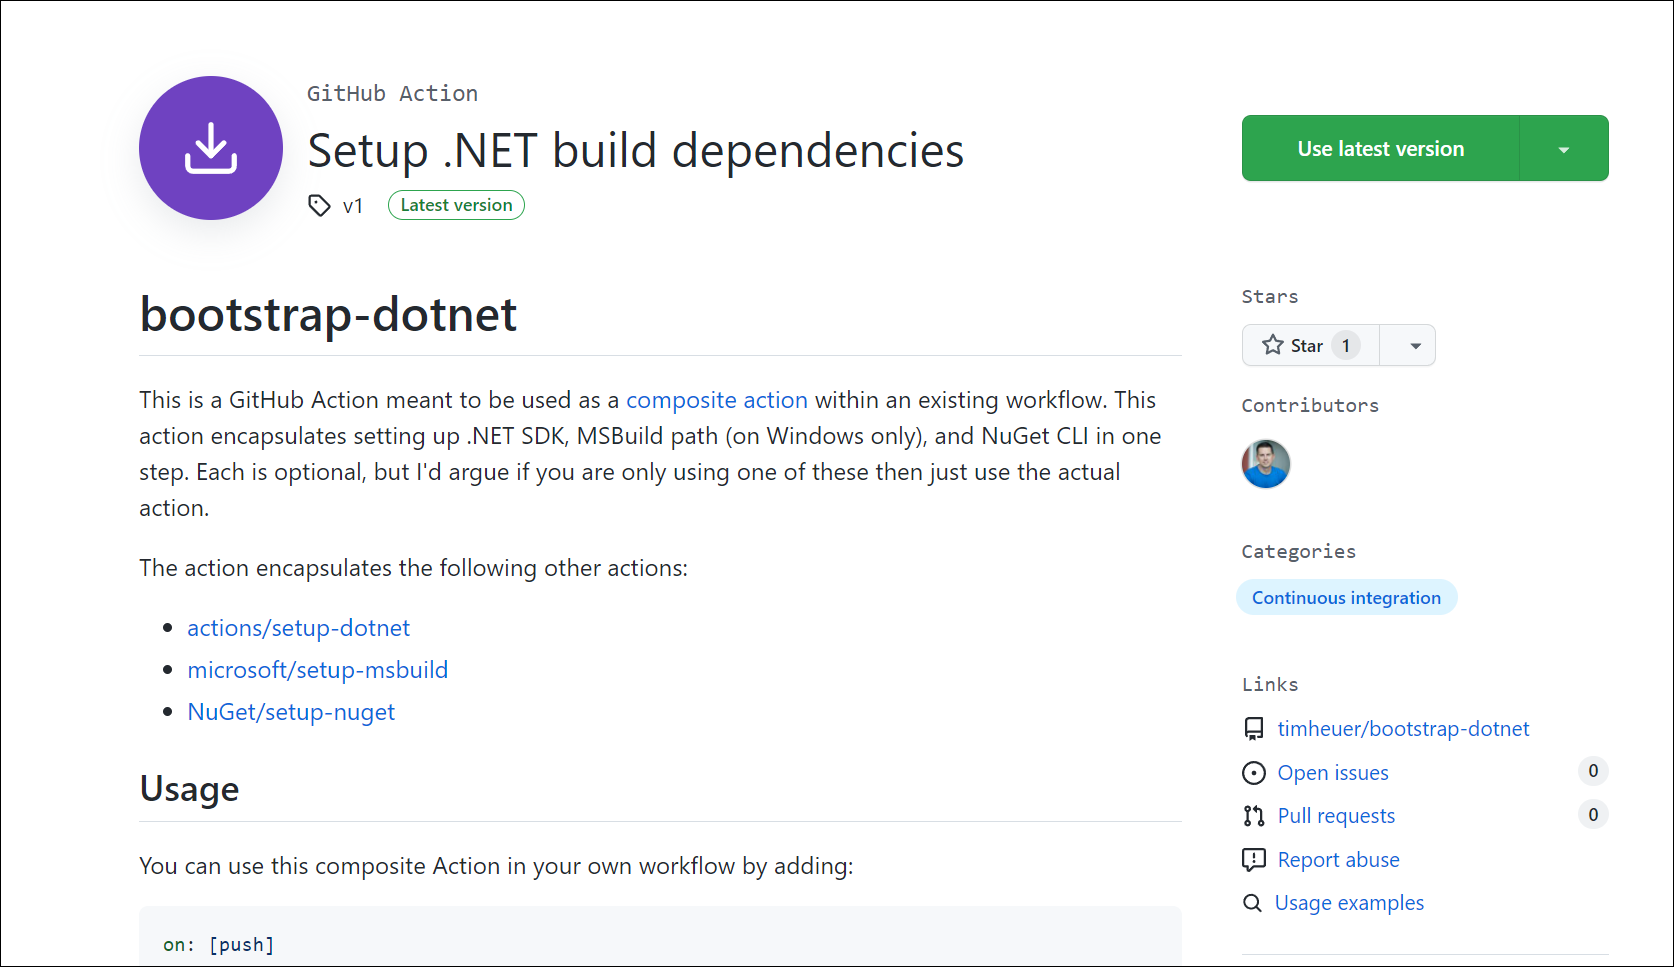
Done! What’s also great is because this still is a legit GitHub Action you can publish it on the marketplace for others to discover and use (hence the branding). Here is this one we just demonstrated above in the marketplace:

So that’s a simple example of truly a template/merge of other existing actions. But can you use this method to create a custom action that just uses script for example, like PowerShell? YES! Let’s take another one of these examples that uploads the VSIX from our project to the Open VSIX gallery. Mads was using a PowerShell script that does his upload for him, so I’m copying that into a new composite action and making some inputs and then he can use it. Here’s the full composite action:
# yaml-language-server: $schema=https://json.schemastore.org/github-action.json
name: 'Publish to OpenVSIX Gallery'
description: 'Publishes a Visual Studio extension (VSIX) to the OpenVSIX Gallery'
branding:
  icon: upload-cloud
  color: purple
inputs:
  readme:
    description: 'Path to readme file'
    required: false
    default: ''
  vsix-file:
    description: 'Path to VSIX file'
    requried: true
runs:
  using: "composite"
  steps:
    - name: Publish to Gallery
      id: publish_gallery
      shell: pwsh
      run: |
        $repo = ""
        $issueTracker = ""

        # If no readme URL was specified, default to "<branch_name>/README.md"
        if (-not "${{ inputs.readme }}") {
          $readmeUrl = "$Env:GITHUB_REF_NAME/README.md"
        } else {
          $readmeUrl = "${{ inputs.readme }}"
        }

        $repoUrl = "$Env:GITHUB_SERVER_URL/$Env:GITHUB_REPOSITORY/"

        [Reflection.Assembly]::LoadWithPartialName("System.Web") | Out-Null
        $repo = [System.Web.HttpUtility]::UrlEncode($repoUrl)
        $issueTracker = [System.Web.HttpUtility]::UrlEncode(($repoUrl + "issues/"))
        $readmeUrl = [System.Web.HttpUtility]::UrlEncode($readmeUrl)

        # $fileNames = (Get-ChildItem $filePath -Recurse -File)
        $vsixFile = "${{ inputs.vsix-file }}"
        $vsixUploadEndpoint = "https://www.vsixgallery.com/api/upload"

        [string]$url = ($vsixUploadEndpoint + "?repo=" + $repo + "&issuetracker=" + $issueTracker + "&readmeUrl=" + $readmeUrl)
        [byte[]]$bytes = [System.IO.File]::ReadAllBytes($vsixFile)

        try {
            $webclient = New-Object System.Net.WebClient
            $webclient.UploadFile($url, $vsixFile) | Out-Null
            'OK' | Write-Host -ForegroundColor Green
        }
        catch{
            'FAIL' | Write-Error
            $_.Exception.Response.Headers["x-error"] | Write-Error
        }
You can see it is mostly a PowerShell script and has the inputs (line 6). And here it is in use in a project:
# other steps removed for brevity in snippet
  publish:
    runs-on: ubuntu-latest
    steps:

      - uses: actions/checkout@v2

      - name: Download Package artifact
        uses: actions/download-artifact@v2
        with:
          name: RestClientVS.vsix

      - name: Upload to Open VSIX
        uses: timheuer/openvsixpublish@v1
        with:
          vsix-file: RestClientVS.vsix
Pretty cool when your custom action is a script like this and you don’t need to do any funky containers, or have a node app that just launches pwsh.exe or stuff like that. LOVE IT! Here’s the repo for this one to see more: timheuer/openvsixpublish.
This will definitely be the first approach I consider when needing other simple actions for my projects or others. The simplicity and flexibility in ‘templatizing’ some steps is really great!
Hope this helps!
Please enjoy some of these other recent posts...
Comments